


Last week, I open sourced one of my projects, readme.so. It is now up to 14 contributors, and many of them were contributing to an open source project for the first time.
For many developers, the idea of contributing to an open source project for the first time is intimidating. However, it builds valuable skills and is extremely rewarding. In this post, I'll give a step-by-step guide to contributing to your first open source project.
I will use my github repo (https://github.com/katherinepeterson/readme.so) as an example, but it is the same for any open source project.
1. Fork the Repo
Navigate to the GitHub repo that you want to contribute to and click Fork in the upper right-hand corner.
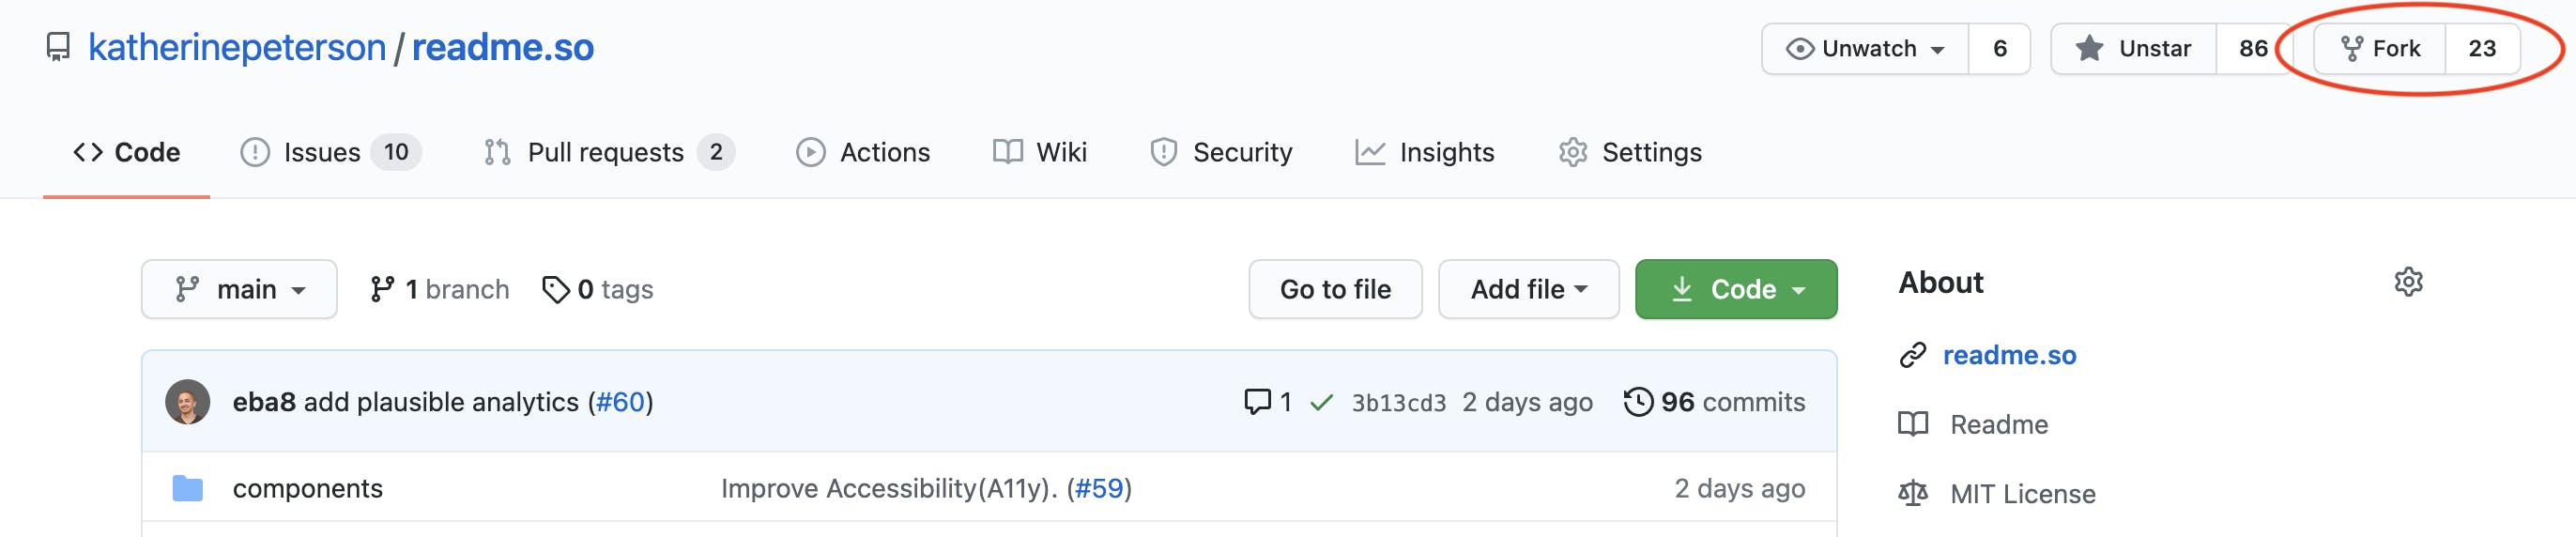
This will create a copy of the repo under your GitHub username.
2. Clone Your Fork
When you fork the repo, it will take you to your copy of the repo in GitHub. Now you want to clone your fork.
Click the green Code button and copy the URL.
Go to your terminal and navigate to the directory where you want to clone the project.
Run the following command with the URL you copied above.
git clone <url>
Cd into the folder that was just created.
cd <project-name>
3. Create a Branch
Create a branch where you can make your changes.
git checkout -b <your-branch-name>
4. Make Your Changes
Open the project in your favorite editor and make your changes.
5. Commit and Push Your Changes
Next, you want to stage, commit, and push your changes to your fork.
git add .
git commit -m "your commit message here"
git push -u origin head
6. Open a PR
Navigate back to the original repo from which you forked, and you will see a prompt to open a new Pull Request from the branch you just pushed to.
Click Compare & pull request, add a description describing the changes you made, and open the PR.
The owners of the repo can now review your changes and decide whether to approve and merge, request changes, or decline your pull request.
If you need to add more changes to this pull request, you can just keep pushing to the same branch and it will automatically update the PR.
Bonus: Keeping Your Fork in Sync
If changes have been made to the original repo since you forked it, you are going to want to pull those changes into your fork. Here are the steps to do this.
1. Navigate to the Main Branch of Your Local Fork
git checkout main
2. Add the Original Repo as the Upstream Remote
Navigate to the original repo, click the green "Code" button, and copy the URL as if you were going to clone the repo.
In your project, run
git remote add upstream <url>
Now you have a pointer to the original repo, called upstream, and a pointer to your forked repo, called origin.
3. Pull the Latest Changes from Upstream
Pull the latest changes from the main branch (or whatever the default branch is called) of the upstream repo.
git pull upstream main
4. Push the Changes to Your Fork
Now you have the upstream changes locally, but not in your remote origin. To push to your forked repo, run
git push origin main
Now you are in sync! To make another contribution, you can create a new branch and repeat the process.
That's it! If you run into any issues or have questions, feel free to reach out to me on Twitter.